Guide 3: Creating Your First NFT Auction
Setup
- To begin, import your previous build from the Guide 2 “Building An App” into the web-app by selecting “Import Template” in the ADO builder.
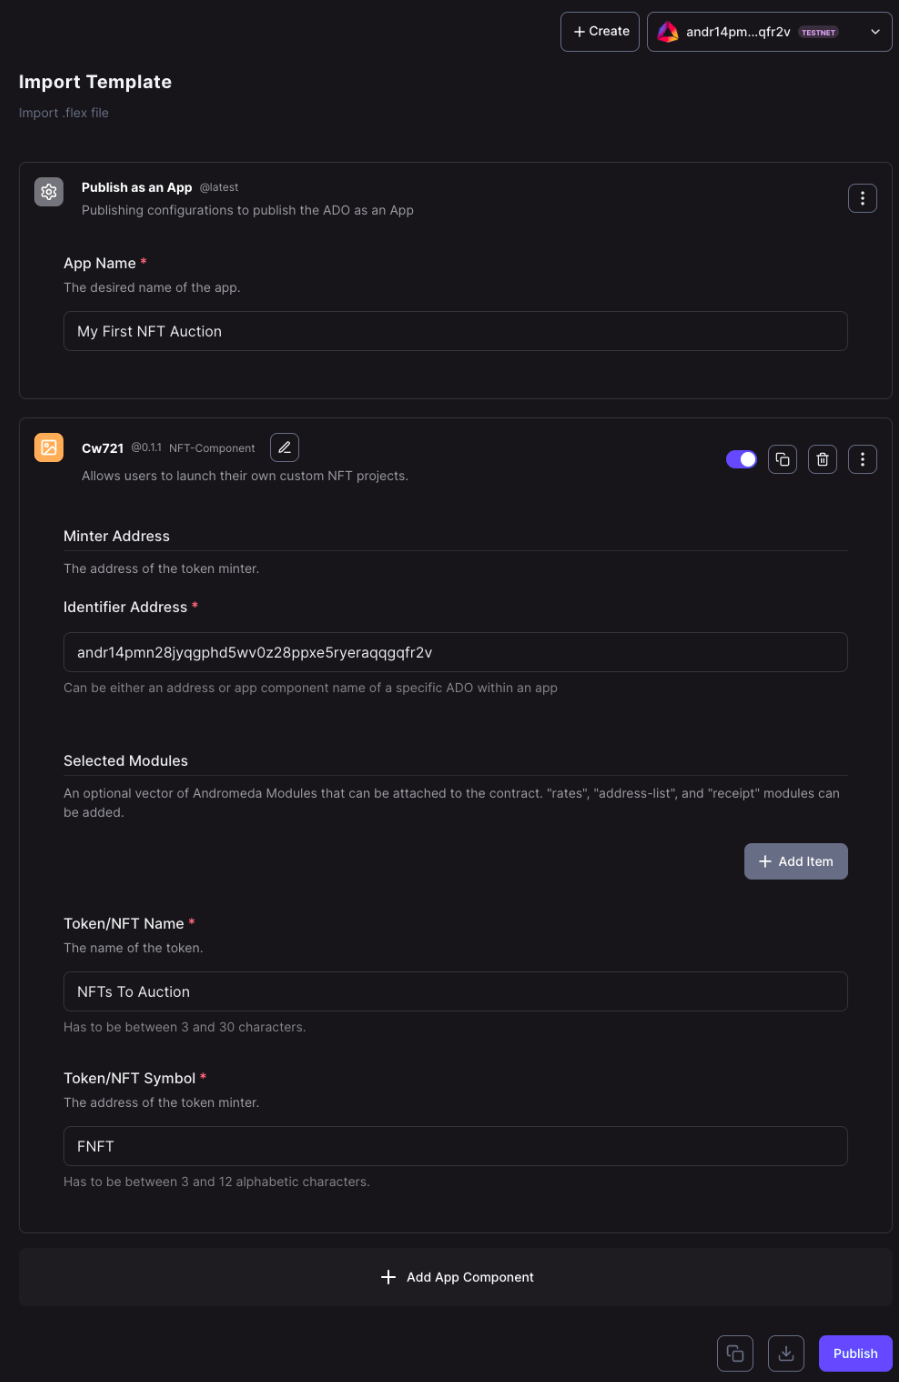
- Rename the App and NFT collection to a more suitable name, and don't forget to update the minter address if you've switched to a different chain or wallet.
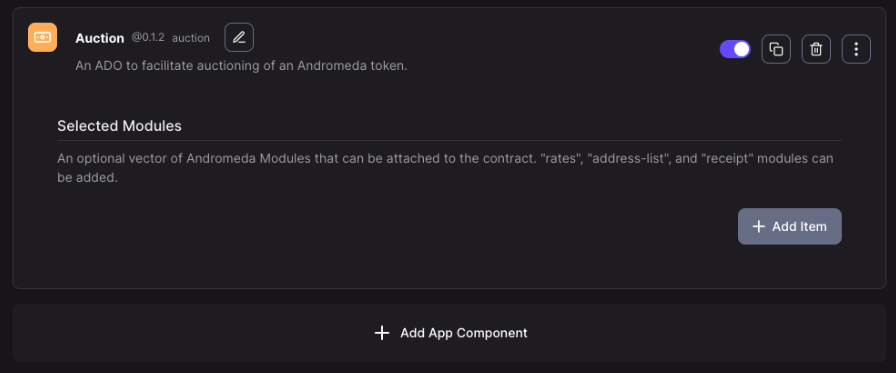
- Next, add an “Auction” component to the App and give it a suitable name. Then, you can publish the App to the chain and start setting up your auctions.
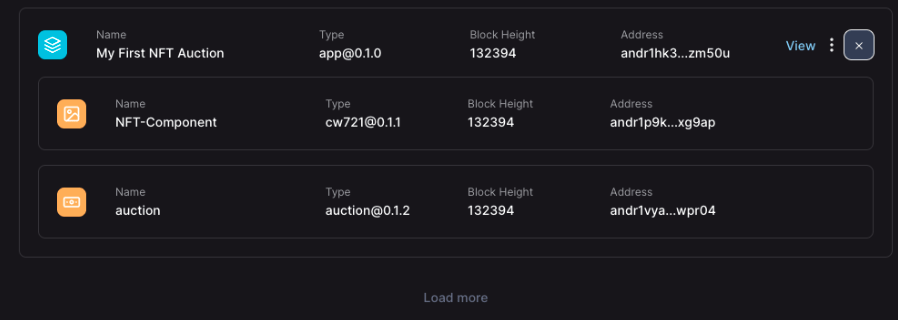
- First, mint some NFTs that you will be auctioning. In the assets page locate your new app and the CW721 component, select the Batch Mint execute to mint 3 (or however many tokens you’d like to mint) tokens. Once done, “publish” to the chain.
Auction/Sale
- To start an auction for your NFTs, send the NFT to the auction and attach the appropriate message using the SendNft execute message for the CW721 component.
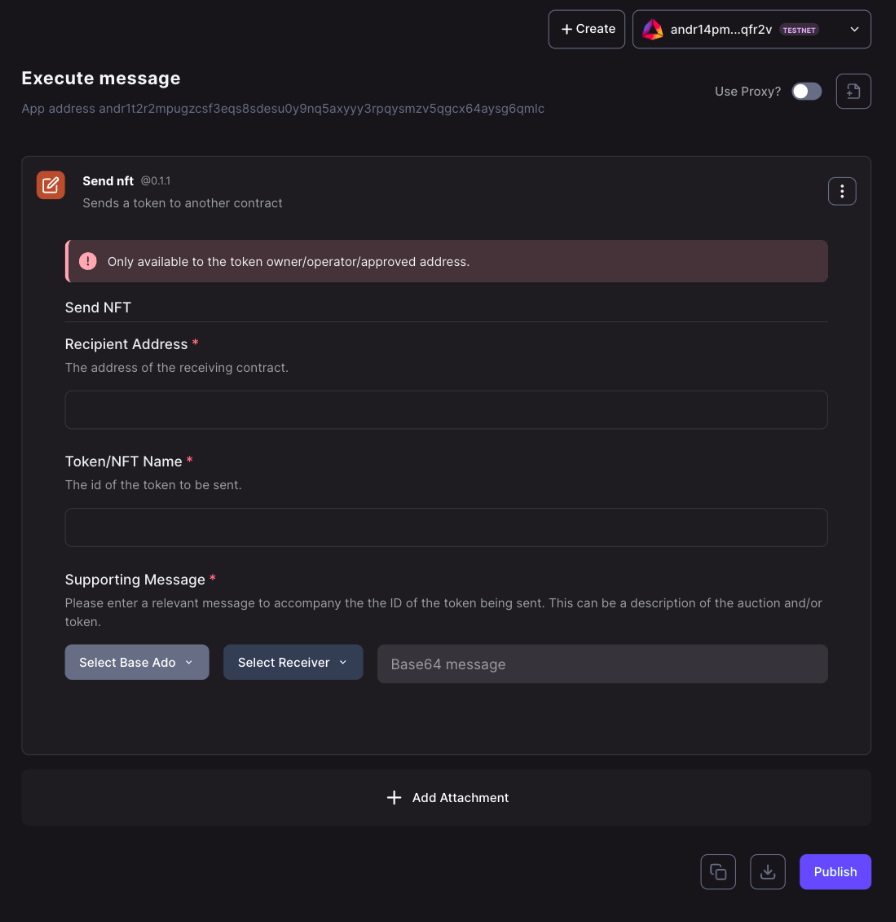
- Fill out the required field - Recipient Address.
- Then, provide the Token ID of the NFT you want to send.
- In addition, select the message to attach along with your NFT. Select “Auction” from the “Base ADO” options, then select “CW721 start auction”
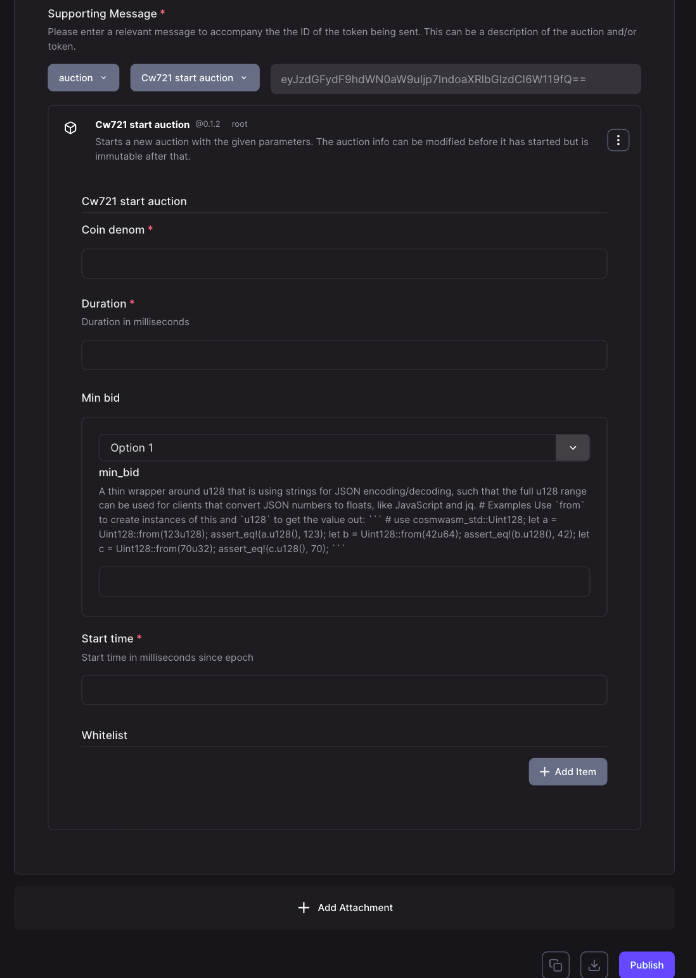
- Finally, configure the auction options: Coin denomination, duration of the auction in milliseconds, specify the minimum bid allowed (floor price) and specify when the auction starts
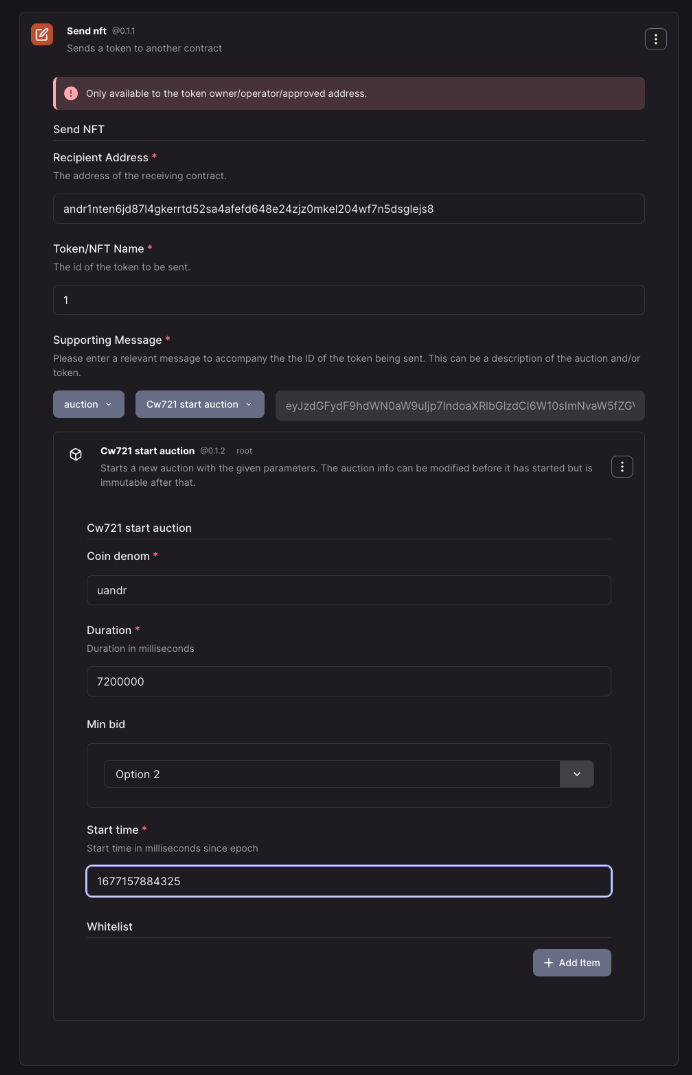
- To set up as a private auction, you can provide a whitelist of addresses allowed to bid on the NFT.
- Once done configuring the fields, publish the message to the chain.
- To sell an NFT, select Transfer Agreement from the list of “execute”messages.
You will need to specify the following fields: Amount, Denom, Purchaser, and Token ID. Once the fields are filled out, publish the message to the chain.
- Congratulations, you just minted and sold an NFT using aOS.


