Guide 2: Minting Your First NFT Collection (from a template)
SETUP
- Open up a new blank canvas and name your App.
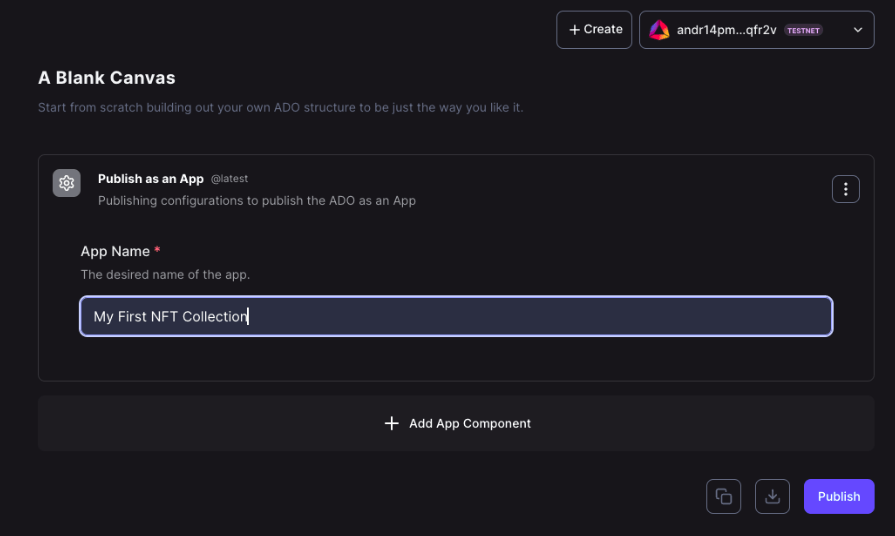
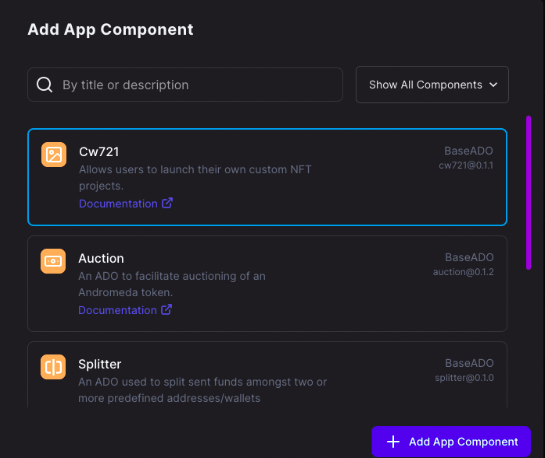
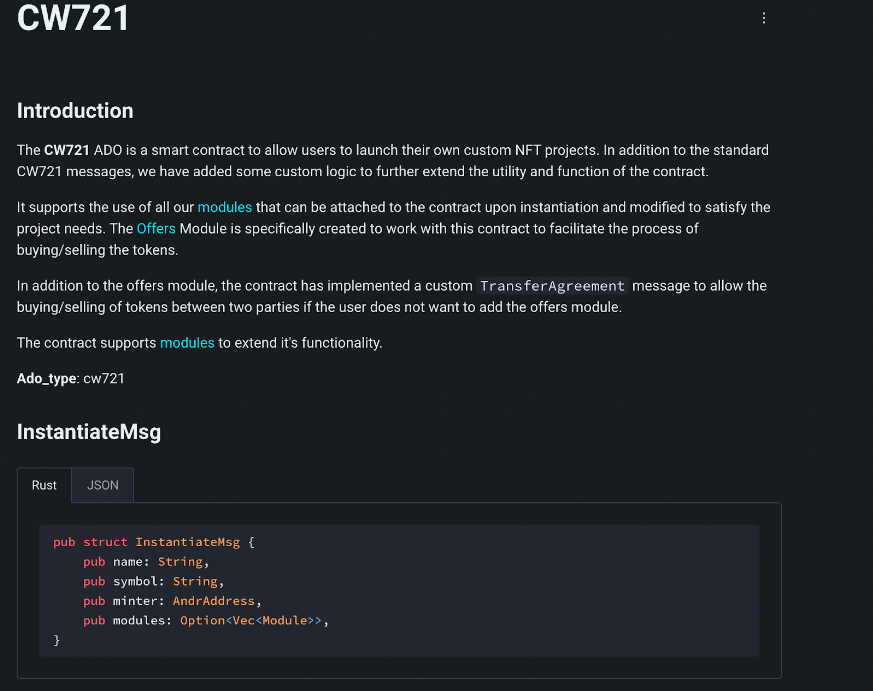
- Select “Add App Component” to add an ADO to your App. Since this is for building an NFT collection, choose the CW721 ADO. A quick sidenote, If you aren’t familiar with an ADO, you can click on the documentation link below the description which will open up the ADO's own documentation page.
- Add the CW721 to the App.
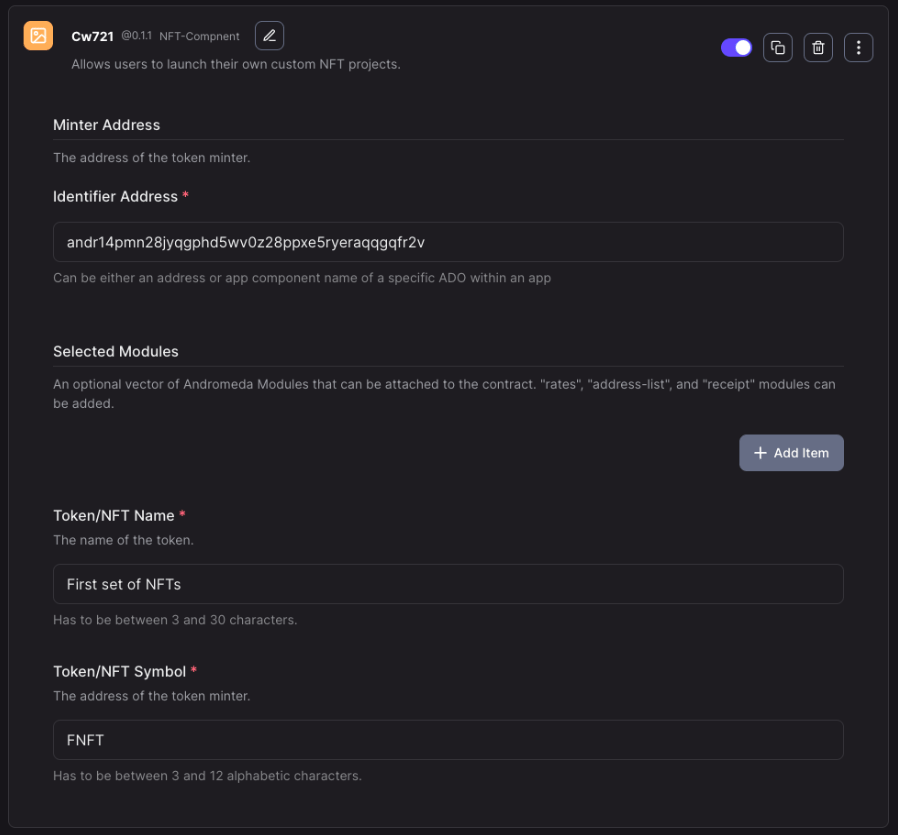
- Choose a suitable name for the component to start configuring the CW721 panel. An example may be “My NFT Collection” or "NFT-Component"

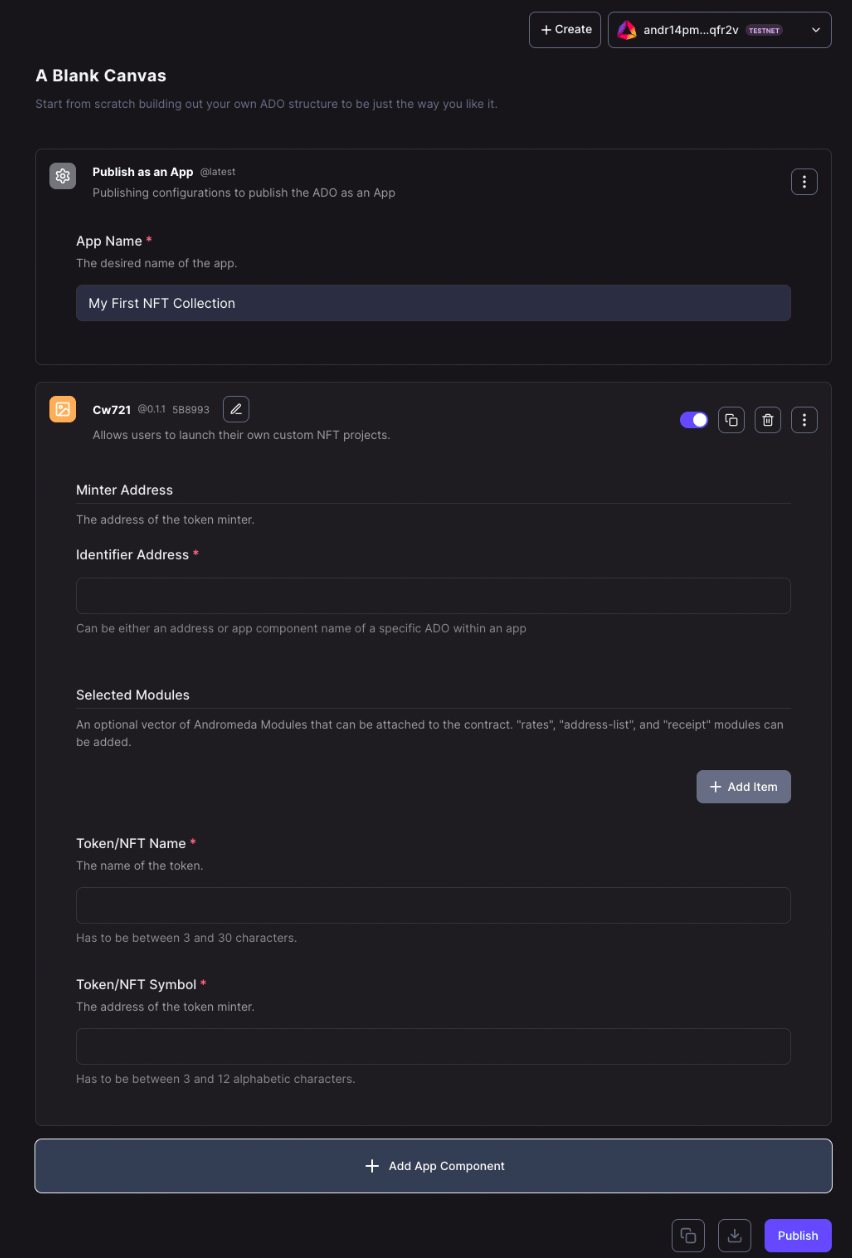
- The CW721 panel has 3 required fields. The Minter Address or Identifier Address, the Token or NFT Name, and the Token or NFT Symbol.
- Next, export your App so it can be reimported later on or shared with other people by clicking on the “Download” symbol to the left of the publish button.

- Once you have saved a copy of the App, you can publish it.
- You will then be redirected to the assets page where the App you built will appear. It may take up to 30 seconds for it to appear, so you may want to refresh the page
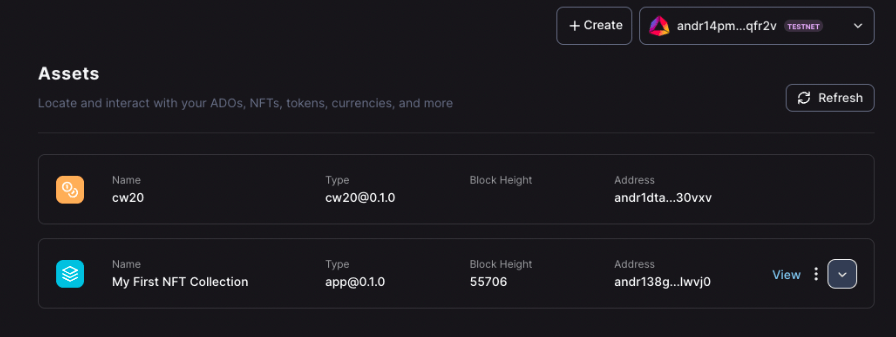
- Check on your components by clicking on the down arrow on the far right of the App.

MINTING
- Our aim in this example is to mint an NFT collection. To do so, you will need to execute messages on your CW721.
- There are three main types of execute messages within the Apps when it comes to permissioning. Contract Owner Restricted Messages, Asset Owner Restricted Messages, and Non-Restricted Messages.
- By default, the App component is assigned as the owner of all the other components. This means that all Contract Owner Restricted Messages of the components can only be sent by the App.
- Next, set up the Claim Ownership message that transfers ownership of all the components to your address (Owner/creator address of the App).
Note :If you do not wish to claim the components, then use the Proxy Message to execute these messages on the components through the App.

- Proxy Message is a Contract Owner Restricted Message which will take your message and send it through the App component (Giving you access to the Contract Owner Restricted messages of the components.).

- It is finally time to mint our collection. Select the Mint message from the list of execute messages for the CW721 component. The required fields? for minting an NFT are the following: Minted Token ID, Token Owner Address, Token Name, Original Publisher, and Token Image.
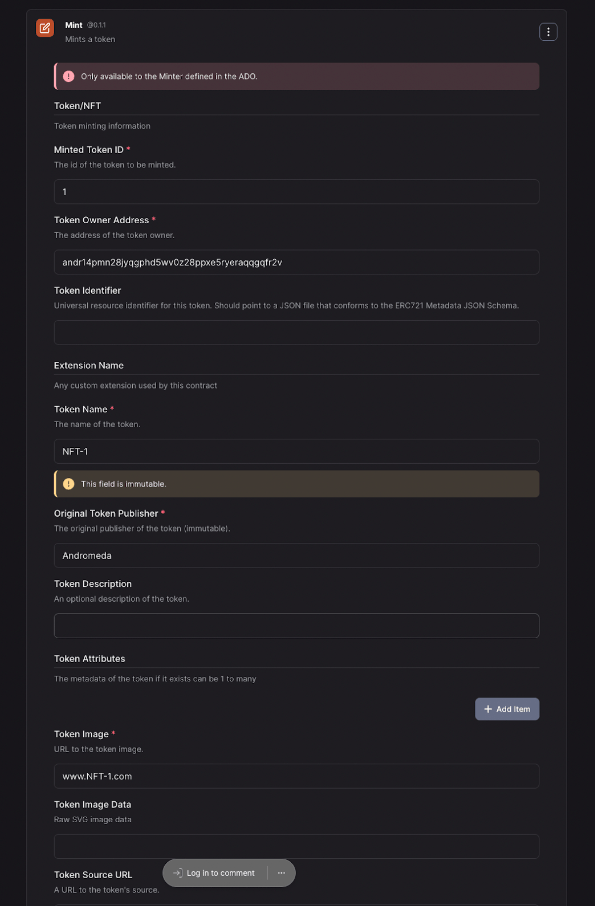
- The optional fields provide extra information for the NFT.
- Once the fields are populated, proceed to publishing.
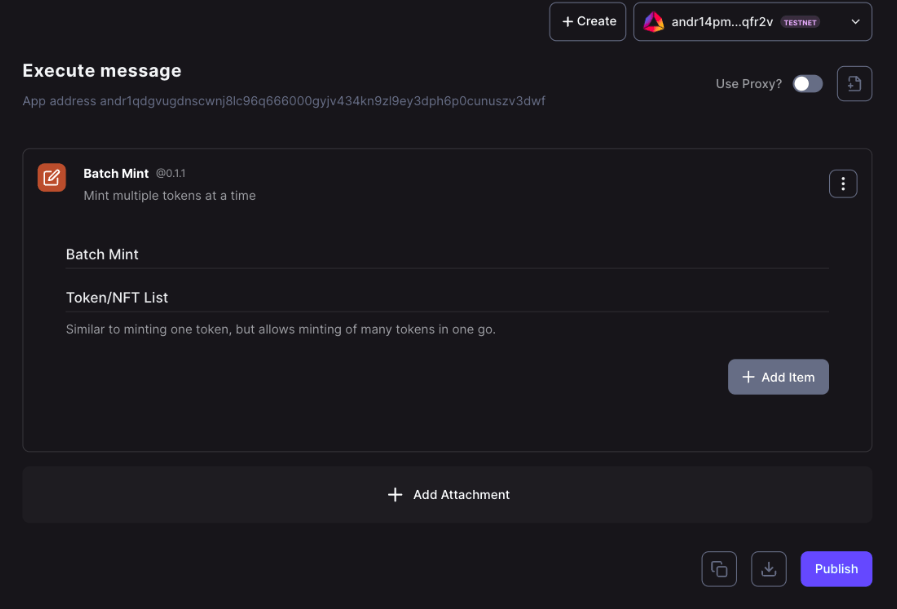
- If you want to mint more than 1, use the Batch Mint execute message. For each NFT you want to mint, select “Add Item”. Fill out the fields and publish to the chain.
- Congratulations! You have set up and minted an NFT collection.


